1st Time Setup
Welcome!
Welcome to PlayerSync! This setup guide assumes you already have the XIV Quicklauncher installed on Windows, Linux or Mac.
You must use the Quicklauncher and have Dalamud enabled for any plugins to work. if you do not have the quick launcher you can find it HERE
These are the things needed for setup:
There are (3) core plugins you will need which we will walk through setting up in this guide:
- Penumbra - This plugin handles loading mods within the game.
- Glamourer - This plugin handles applying the mods to characters as well as manipulating visible character data such as gender, race, height, etc.
- PlayerSync - This plugin facilitates the syncing of what you see on your screen to other players.
Discord:
- A valid discord account that is in the PlayerSync server and as the needed roles to view channel
__________________________________________________________________________________________________________________________________________________
Discord
Before you touch anything in game, you must first join the PlayerSync Discord and register an account: https://discord.gg/playersync
When you first join the server you must Agree to the rules by clicking the "Sync me up” Button this will give you the role “synctastic”. This will give you access to all community channels including “sync-chat” which is used for asking questions in regards to PlayerSync.
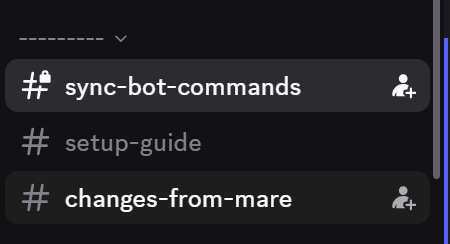
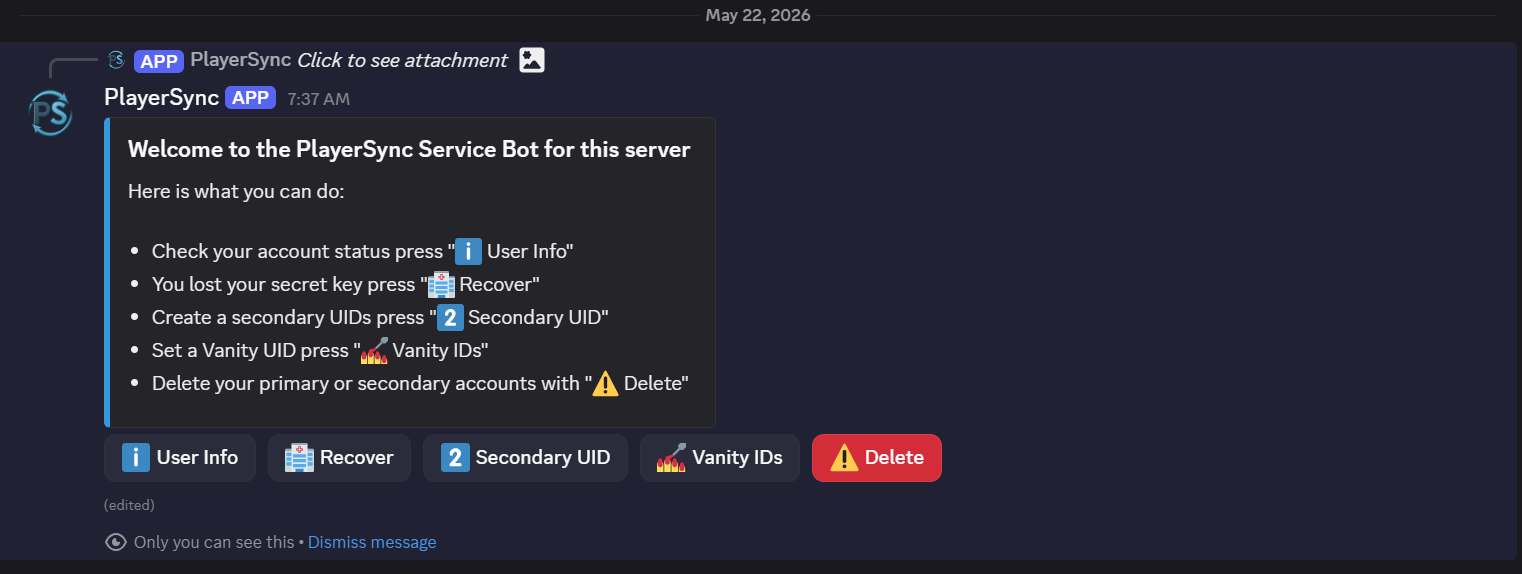
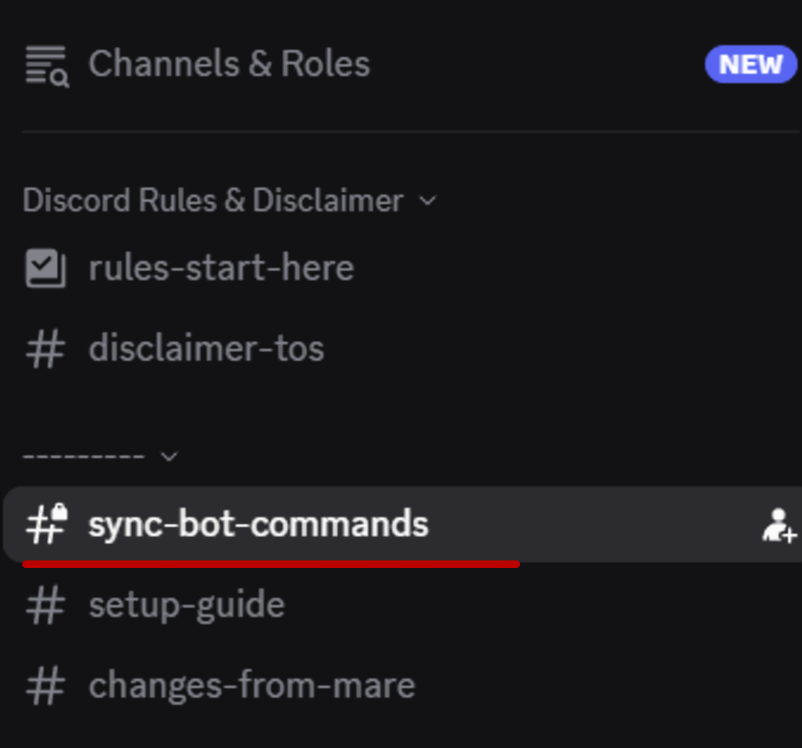
The bot can be found in the “Sync-bot-commands”channel which is the 3rd channel from the top:
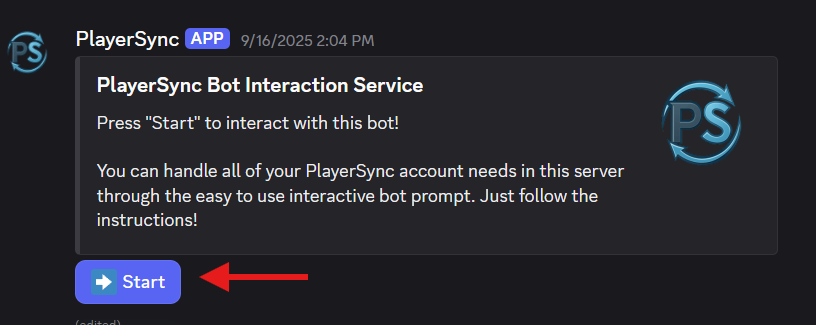
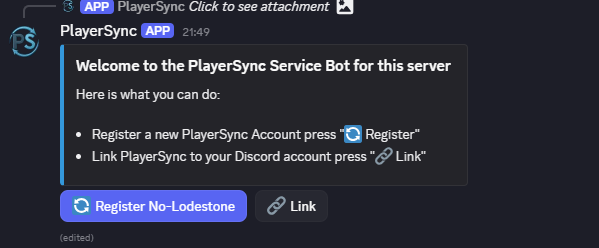
If you have found the bot we can start the process by clicking on the “➡️ start” button on the left bottom.

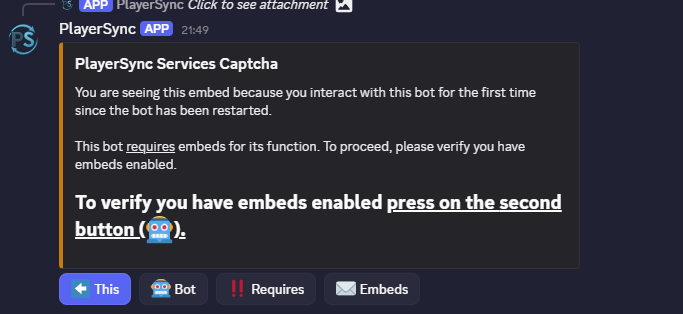
This will open a menu, if it is the first time interacting with the bot you will have to click on the button indicated in order to continue (The required button changes each time you interact with it).

After clicking this button you will receive two prompts, "🔄Register No-Lodestone" is the correct option if this is your first time “🔗Link” is for when you already have an in game working PlayerSync account that is NOT linked to your discord.
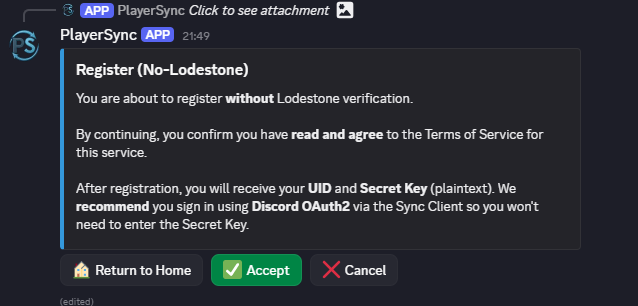
The following window will pop up, after clicking “✅ Accept”. The bot will give you a secret key that you will use later in the setup process. We recommend you record the secret key someplace safe in case it is needed for future use.
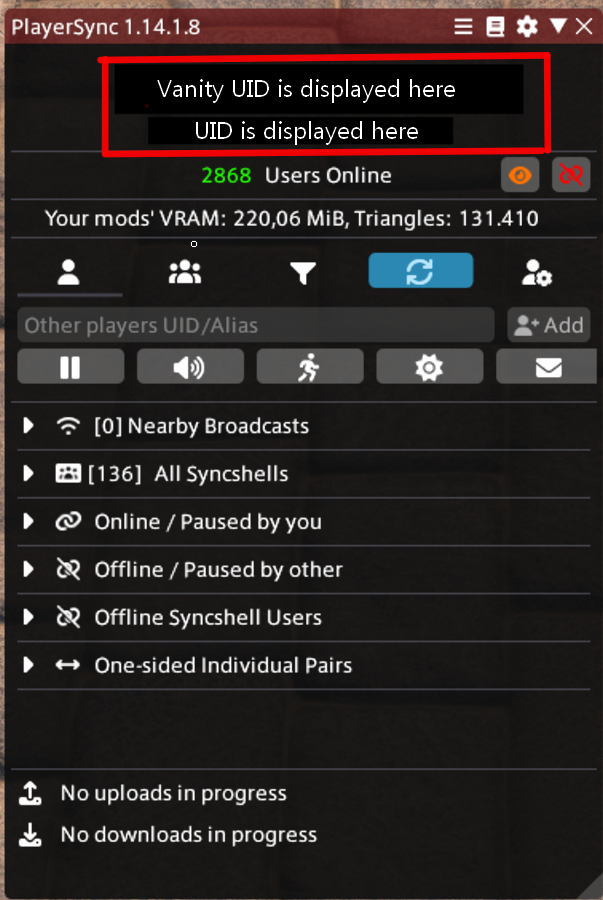
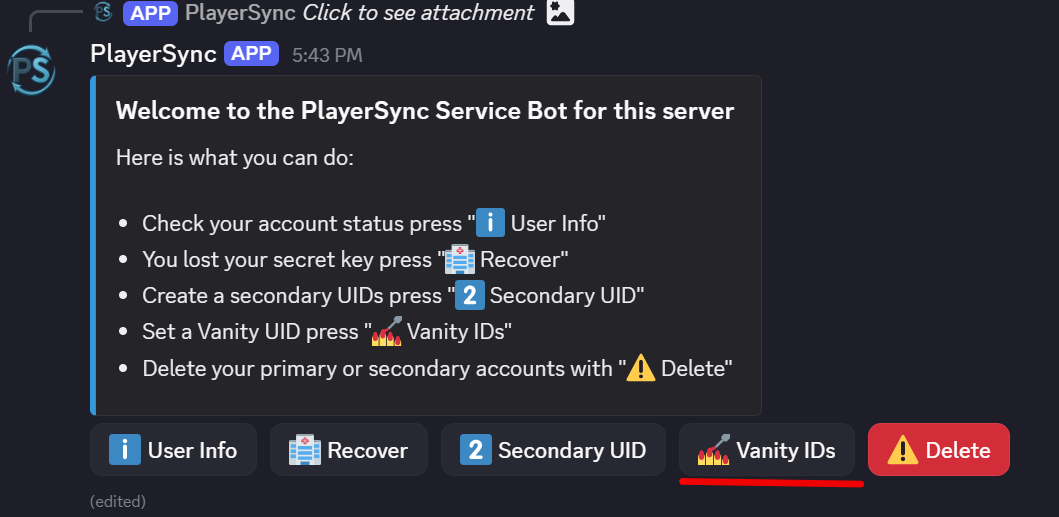
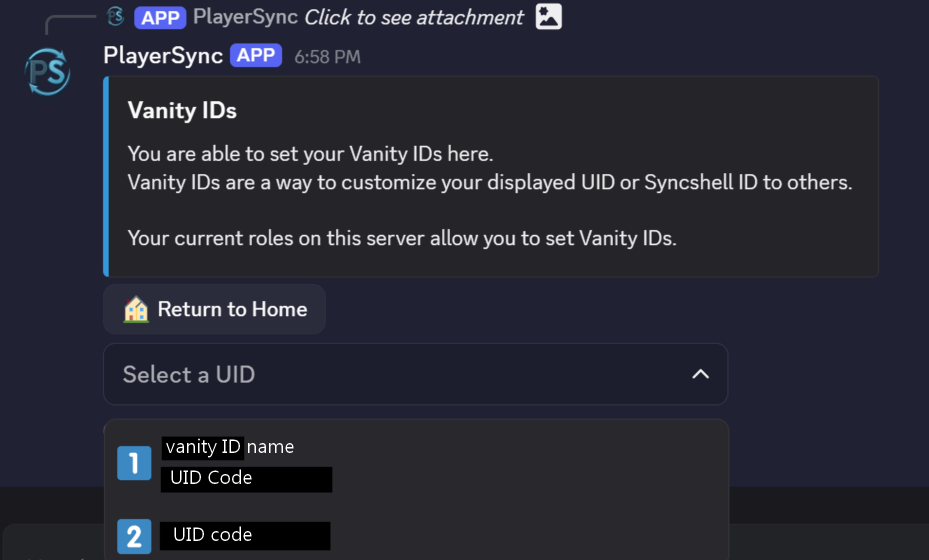
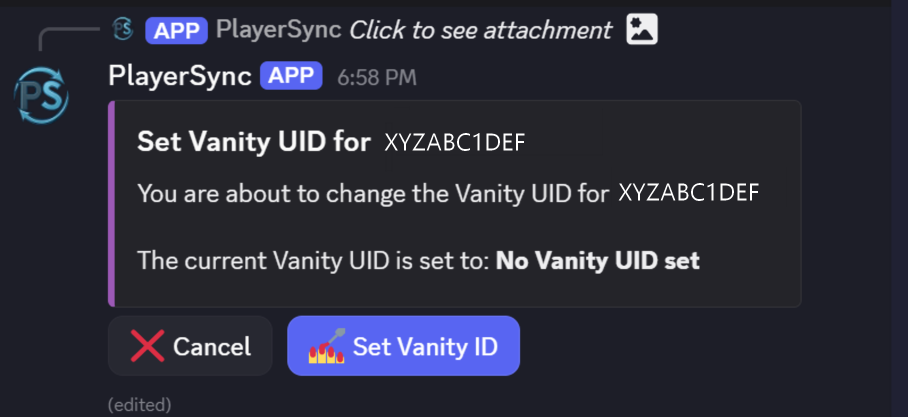
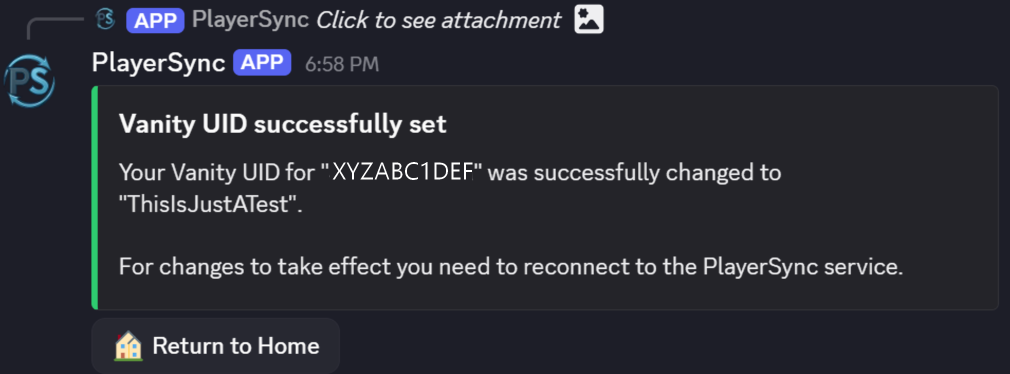
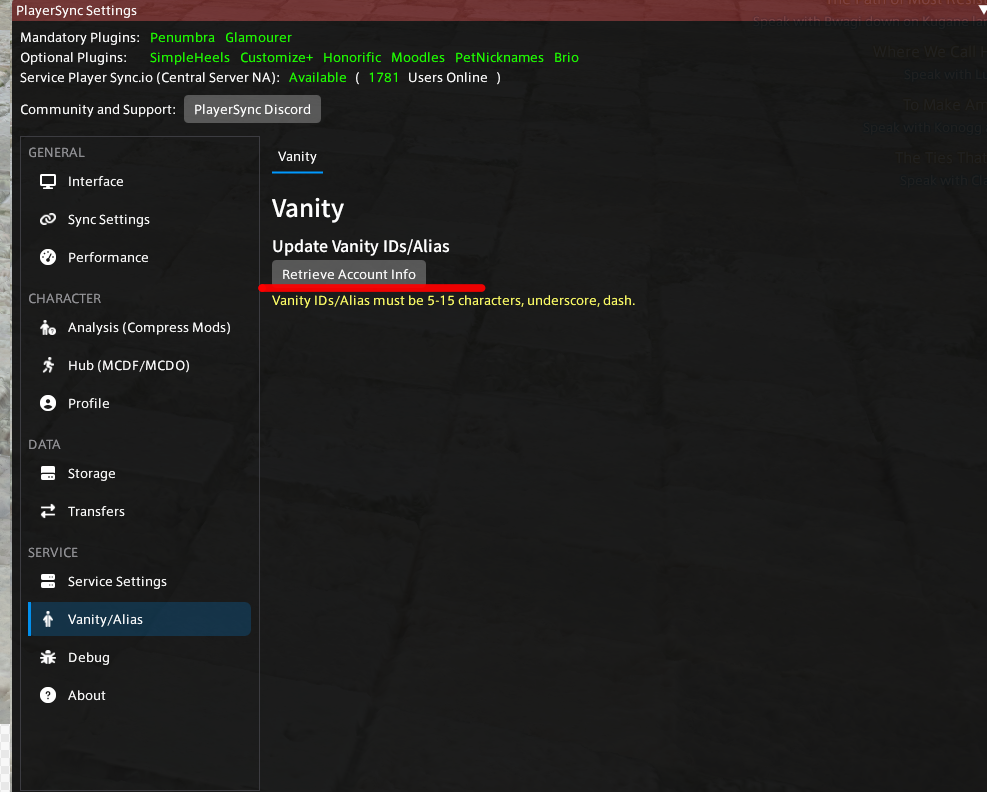
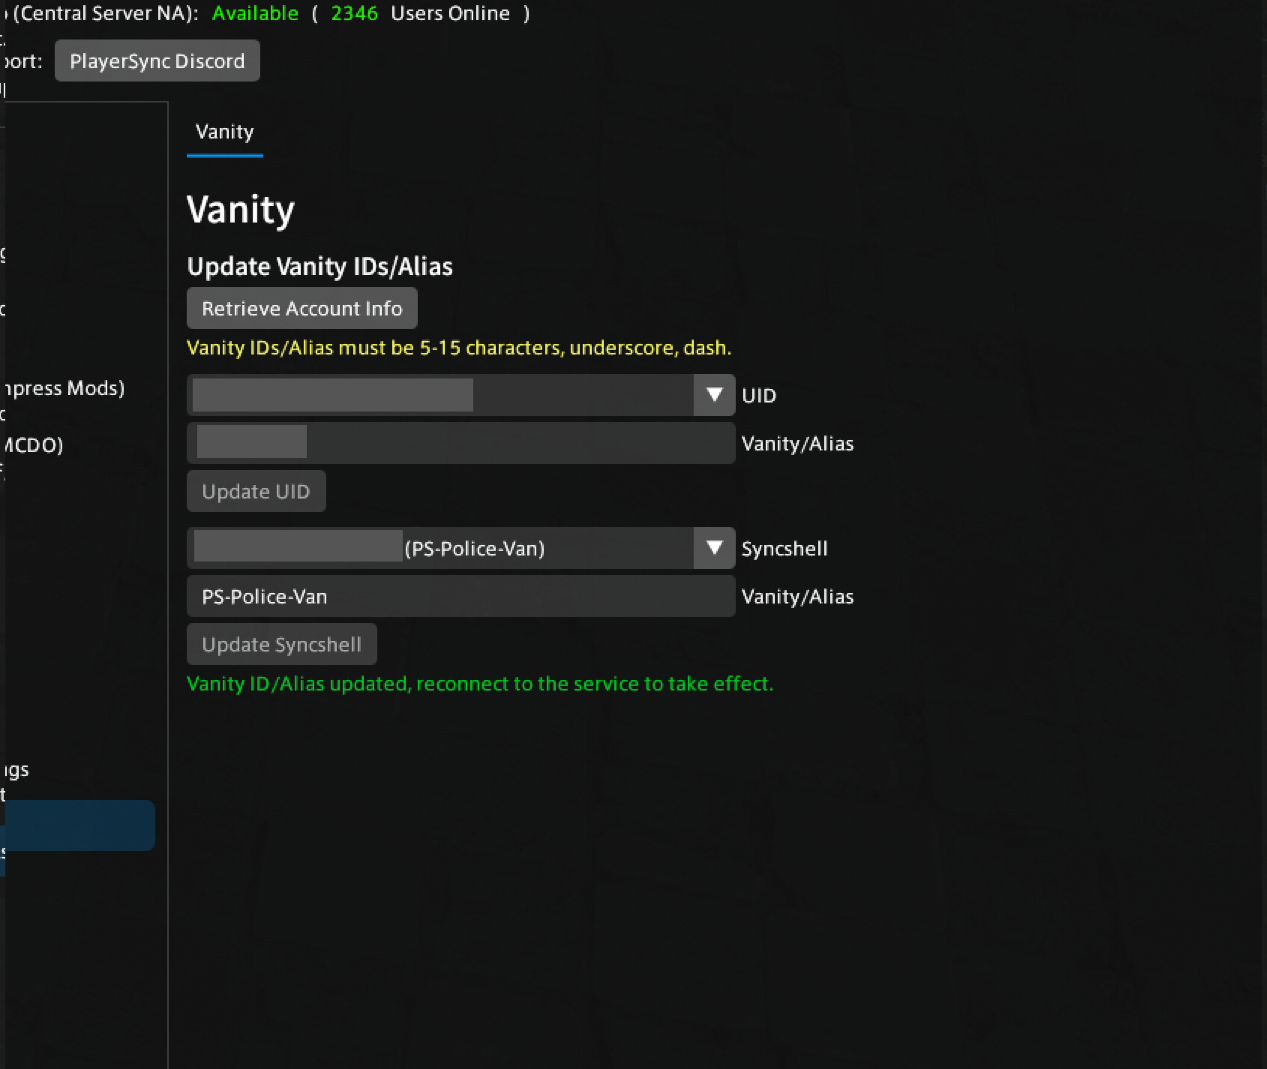
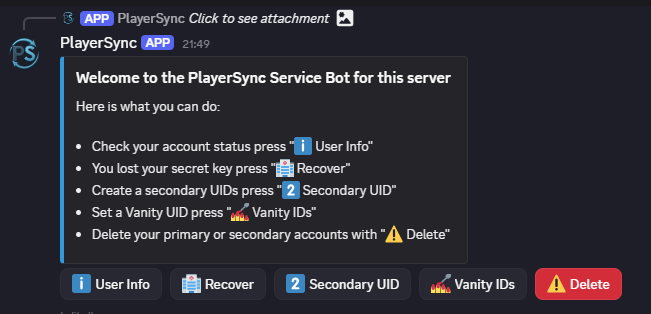
After clicking accept you will get this window giving you your UID at the top and you secret key, you will have to click the long gray bar to reveal it. You can also set your Vanity ID with the Discord bot, as well as setting the Vanity for Syncshells and creating secondary UIDs.
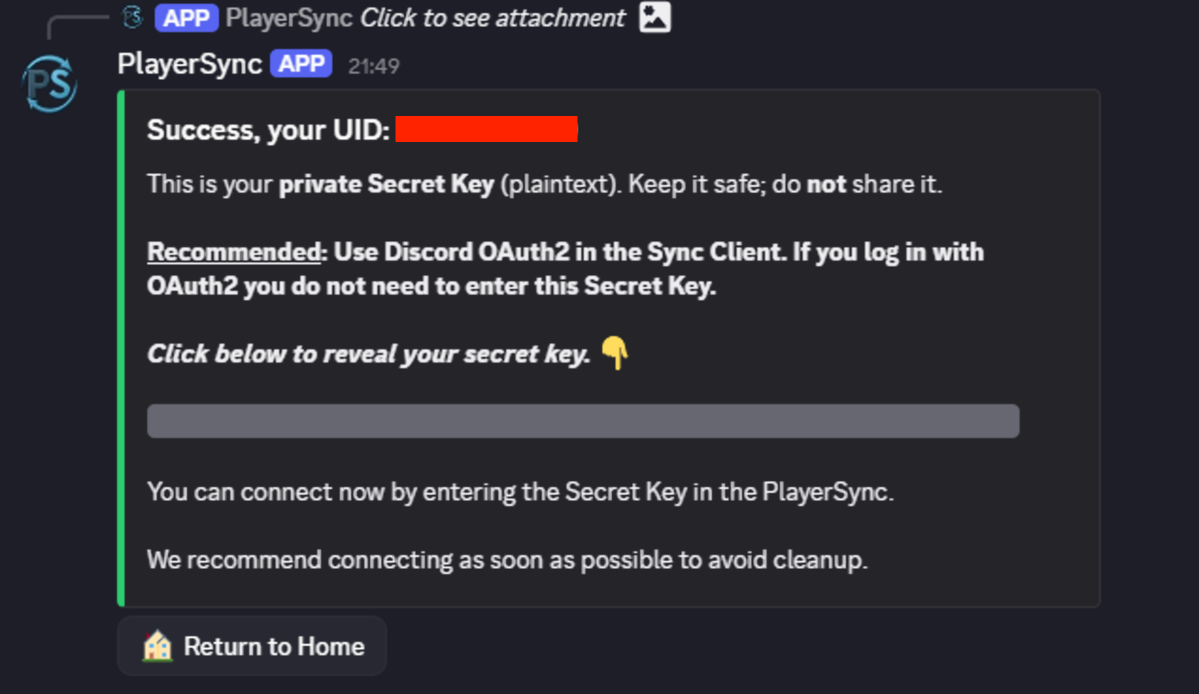
After saving your secret key press “🏠Return to Home” at the bottom left to go back to the previous page which now looks like this.
You can also set your Vanity ID with the Discord bot, as well as setting the Vanity for Syncshells and creating secondary UIDs (explained in a different guide).
__________________________________________________________________________________________________________________________________________________
Storage Folders
Both Penumbra and PlayerSync require you to have dedicated folders to store mod files. You generally do not touch these folders once they are in use, doing so (especially deleting stuff randomly) can cause things to break.
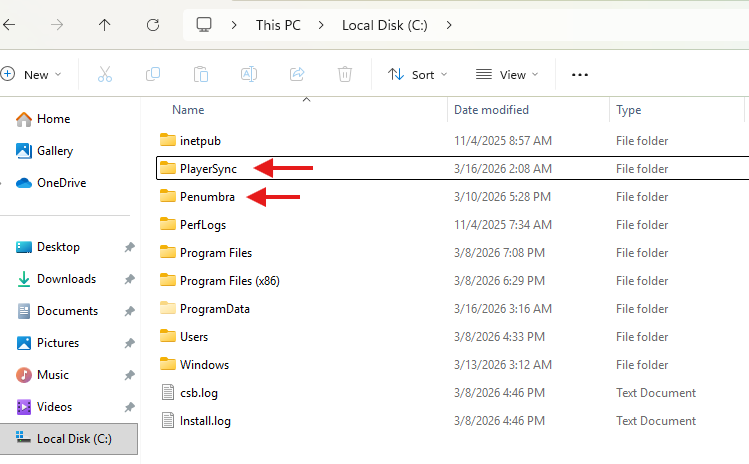
You will want to create the storage folders on your fastest drive possible such as an SSD or nVME drive. Avoid older HDD and USB drives if at all possible. Create the folders at the root of the drive, do not use a OneDrive folder!
Example: C:\Penumbra and C:\PlayerSync
__________________________________________________________________________________________________________________________________________________
Repositories
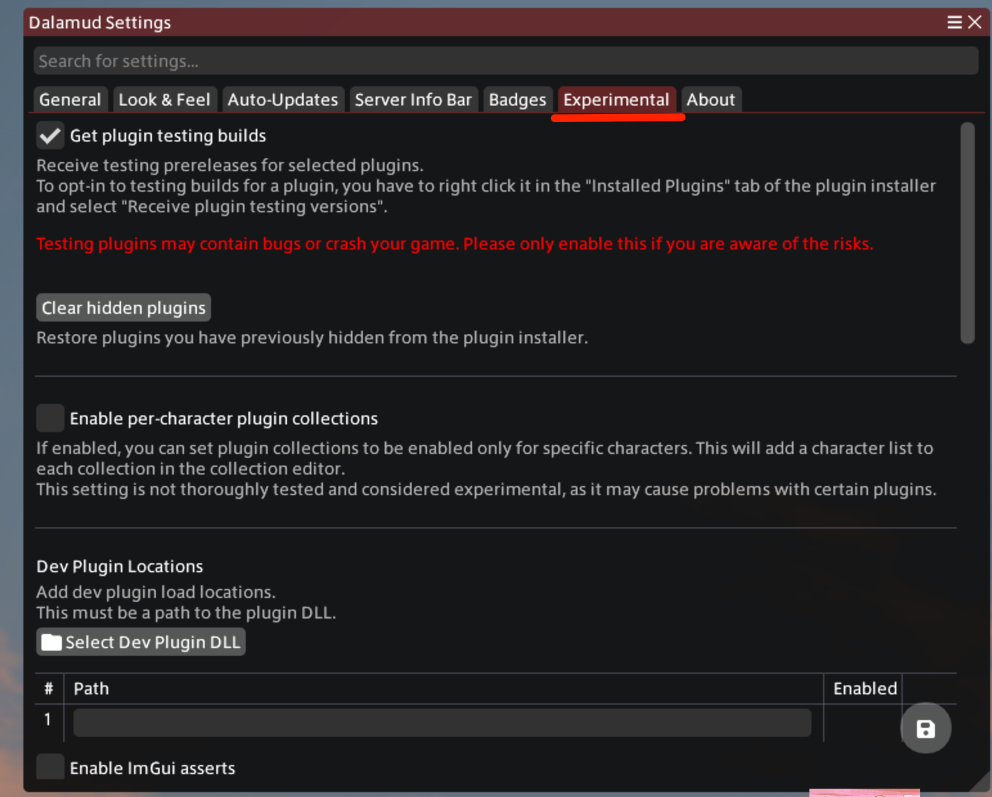
Now that you have your PlayerSync account registered on the Discord and your (2) folders created, it's time to jump in game. Hit Escape and click on “Dalamud Settings”, or type “/xlsettings” in the chat. At the top, navigate to the “Experimental” tab and scroll down to “Custom Plugin Repositories”.
Add in each of the following on their own line:
- https://raw.githubusercontent.com/Ottermandias/SeaOfStars/main/repo.json (we are not endorsed)
- https://playersync.io/download/plugin/repo.json
Note: do not use the “Dev Plugin location” but use the tabs on the bottom UNDER THE YELLOW TEXT.
Be sure to click the “+" after you paste in each URL, when you are done, there should be an empty/blank line at the bottom.
Once you have added the .jsons, click the “Save changes and close” button in the bottom right. Don't forget this step!
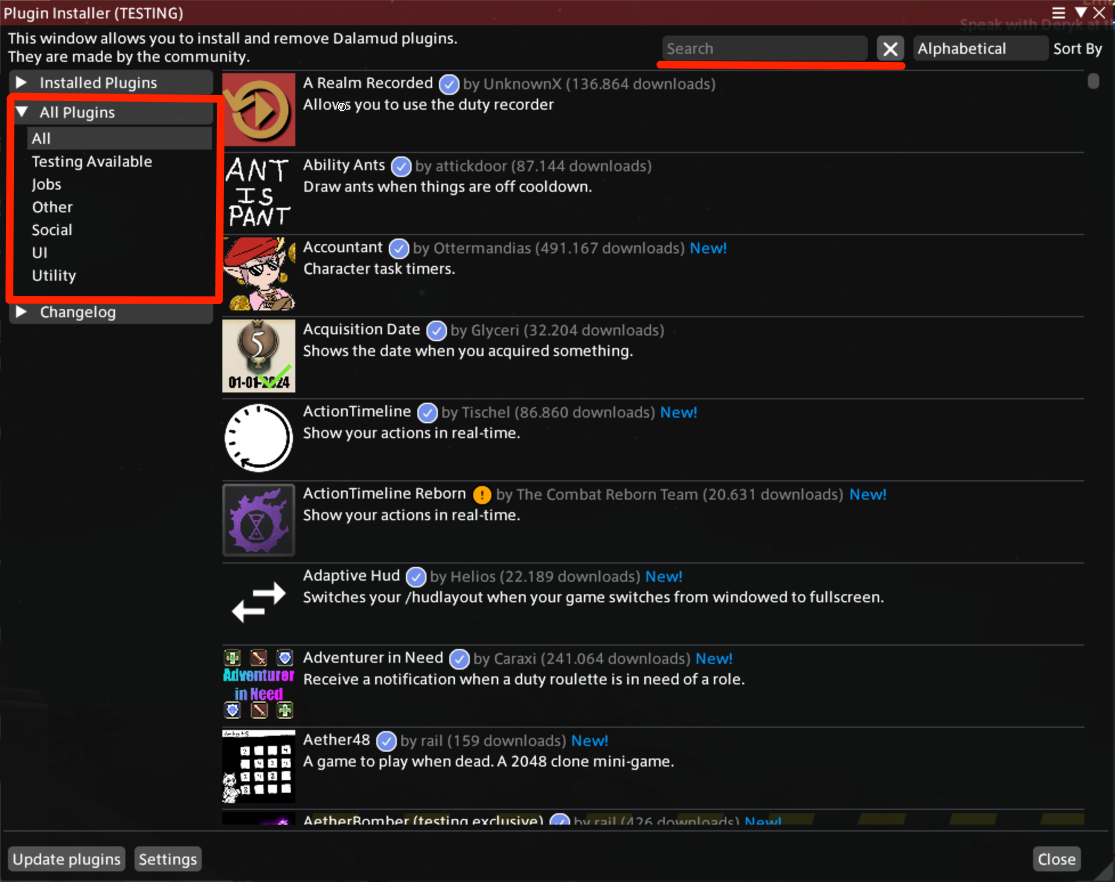
Now hit Escape and click on “Dalamud Plugins”, or type “/xlplugins” in chat. Go to “All Plugins” on the left and search for Penumbra, Glamourer, and PlayerSync. Don't install them yet, but make sure you see them listed before you move on.
__________________________________________________________________________________________________________________________________________________
Penumbra + Glamourer
Search for Glamourer first in the “All Plugins” and install it. (no further interaction is needed with Glamourer for the setup process)

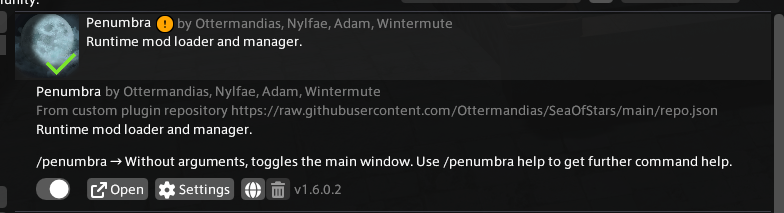
Next, search for “Penumbra” and install it. Once Penumbra is installed, it may open automatically, or you may need to type “/penumbra” in game chat.
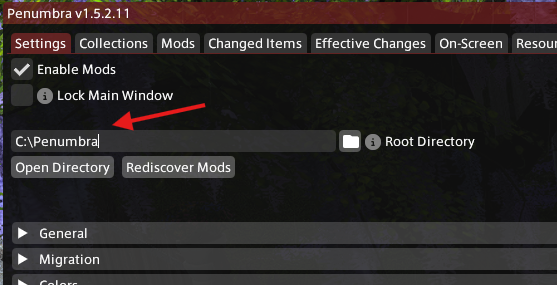
Once opened, you can choose to do the guided tour or not, but the most important thing is to set your Penumbra folder. Point this to the folder you made earlier, this step is crucial!
If this step fails it is most likely due to the folder being located somewhere on your device where Penumbra won't accept it.
__________________________________________________________________________________________________________________________________________________
PlayerSync
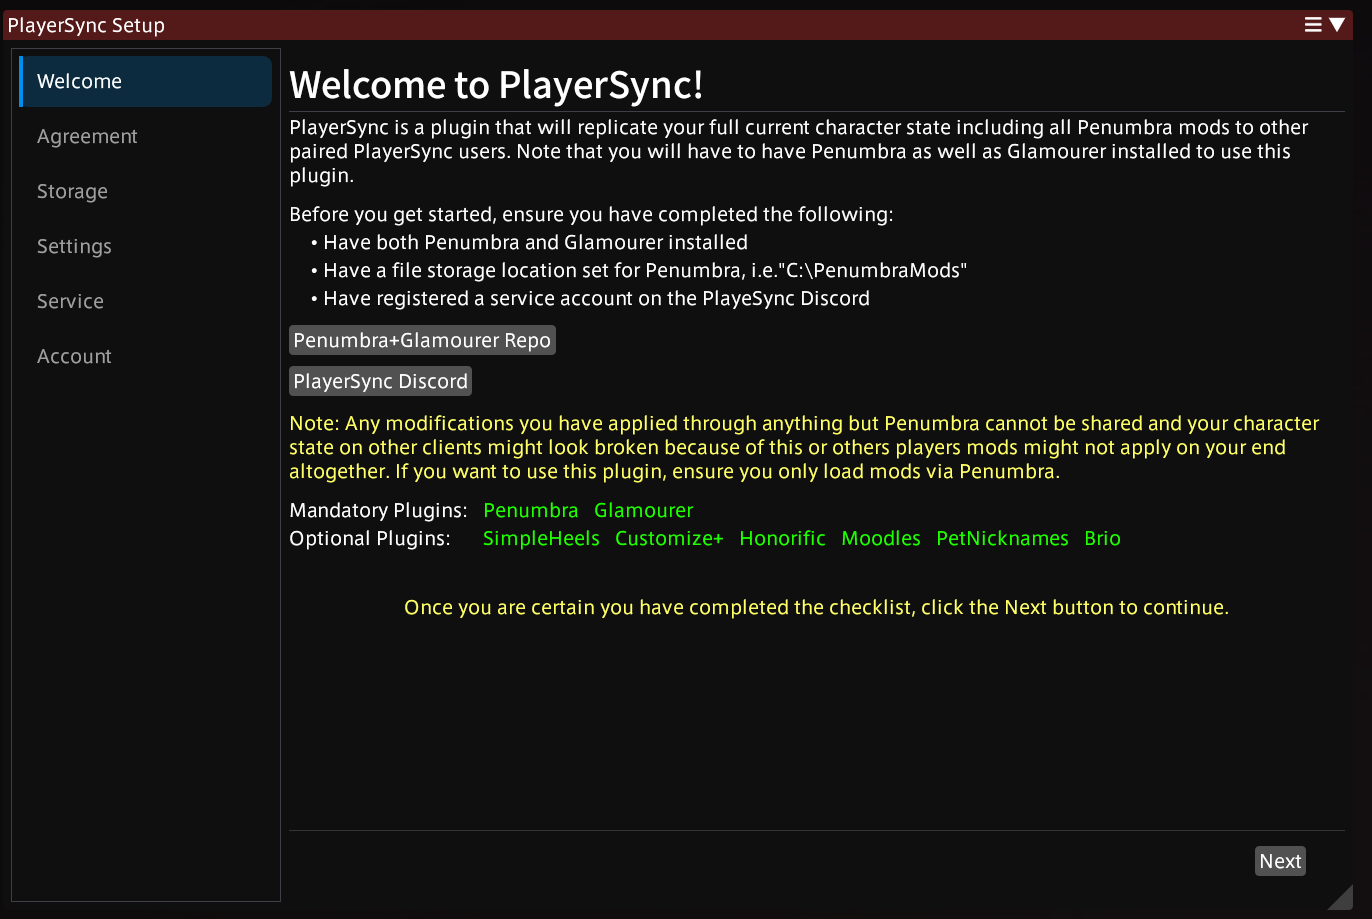
Back in the Dalamud Plugins in “All Plugins” search for PlayerSync and install it. PlayerSync should open the setup wizard automatically upon install.

__________________________________________________________________________________________________________________________________________________
PlayerSync Setup - Storage
Click the folder icon and find and select the folder you created at the start, such as C:\PlayerSync.
Do NOT share the same folder with other syncs! Each sync may handle local storage differently and it can cause problems!
Once you have selected a folder, there will be an initial scan performed. You must wait for the scan to finish before you can move on to the next page.
__________________________________________________________________________________________________________________________________________________
PlayerSync Setup - Quick Start Settings
The Quick Start Settings includes some of the settings as part of the setup wizard for your convenience, and to know they exist. You can change these settings at any time.
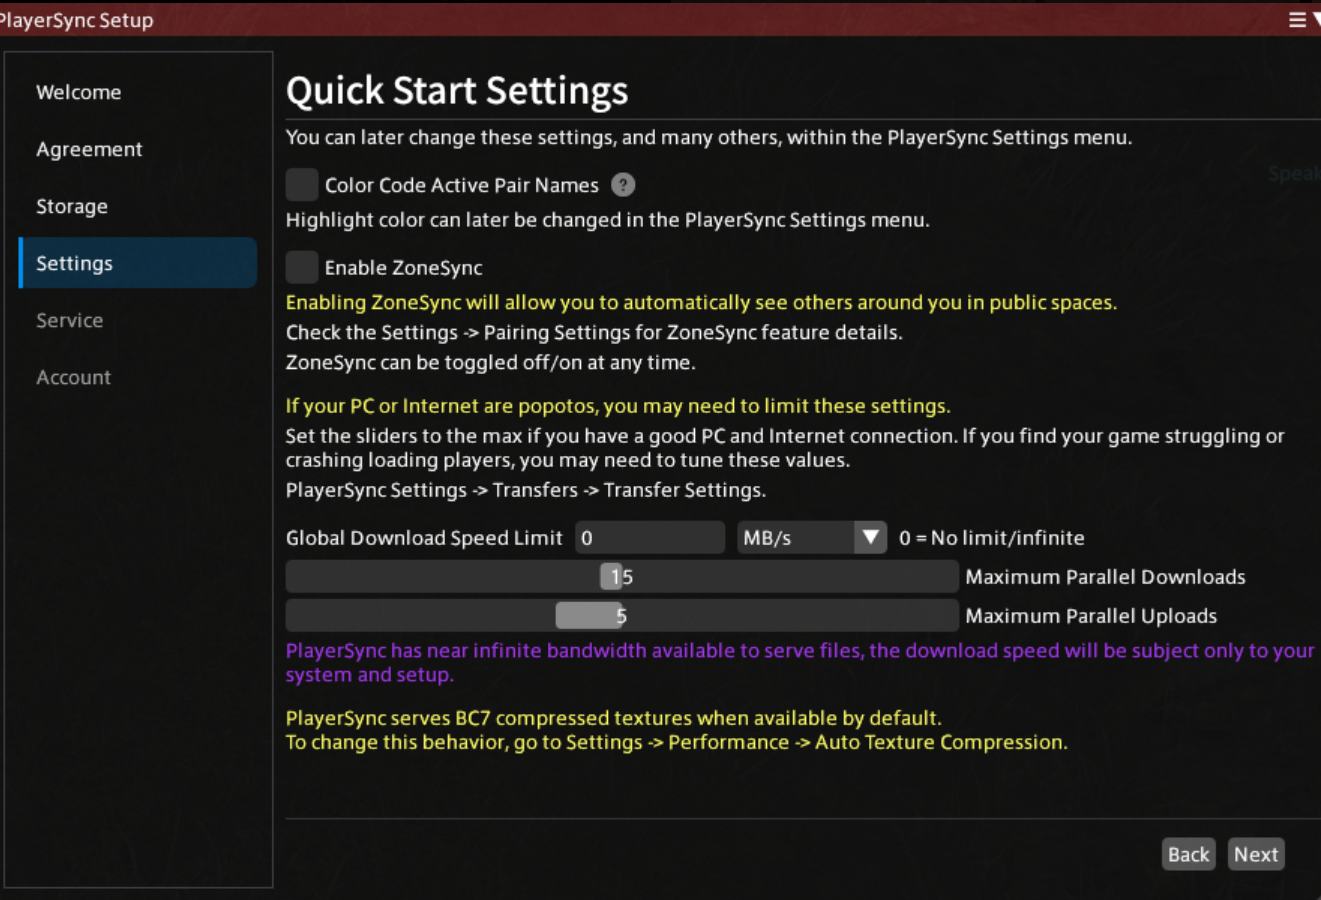
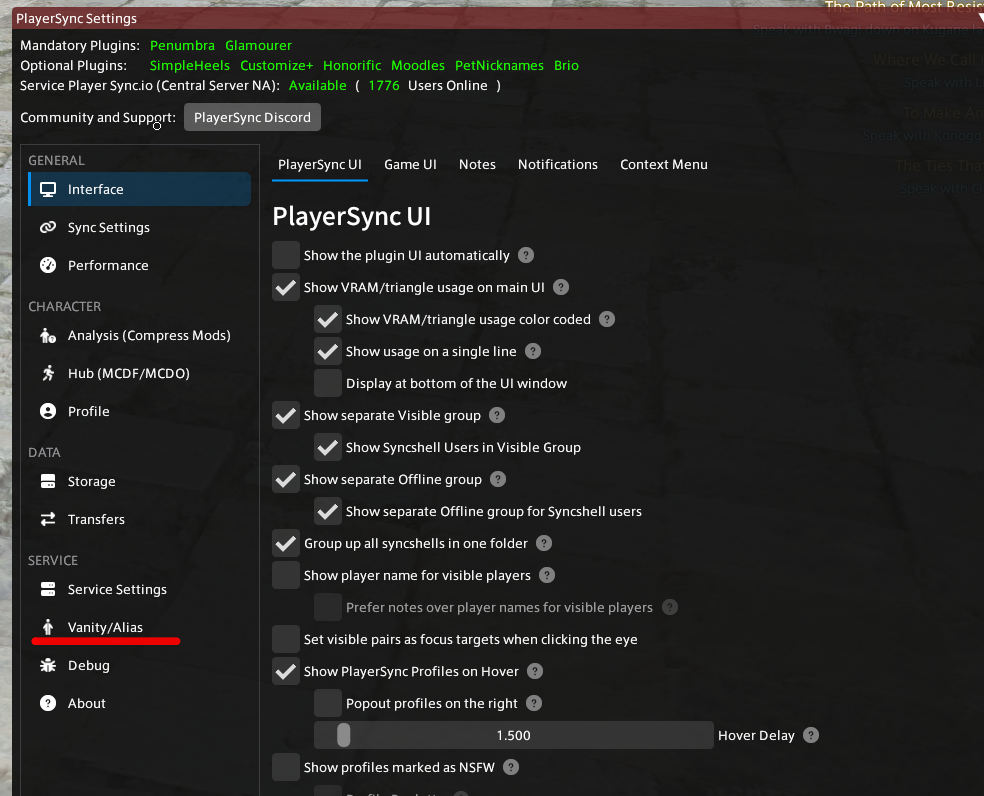
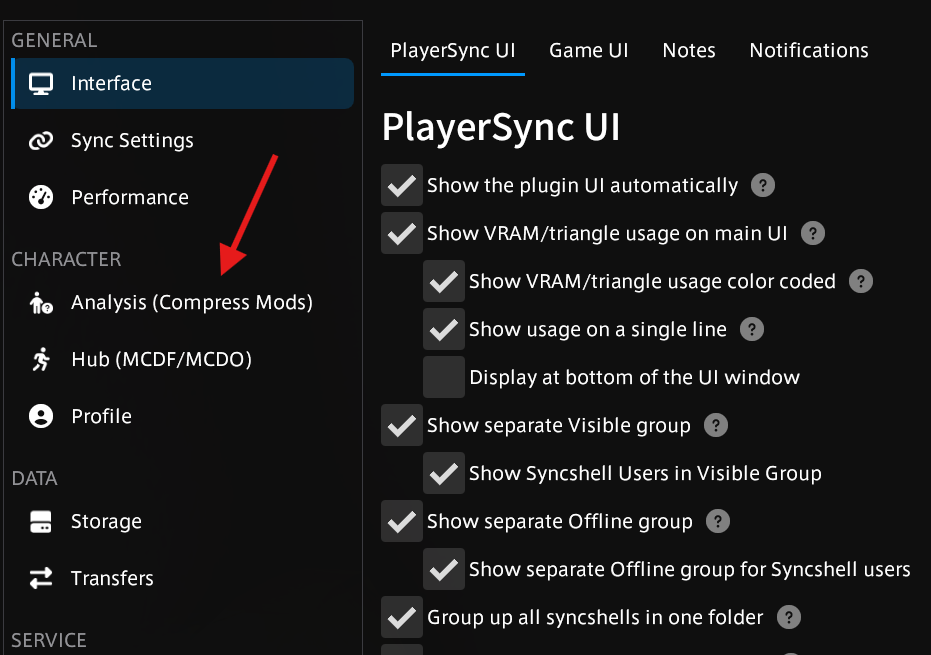
These options can be found in the PlayerSync Settings in the following locations:
- Color code active pair names = Interface → Game UI
- Color code active pair names = Interface → Game UI
- Parallel downloads = Transfers → Bandwidth
__________________________________________________________________________________________________________________________________________________
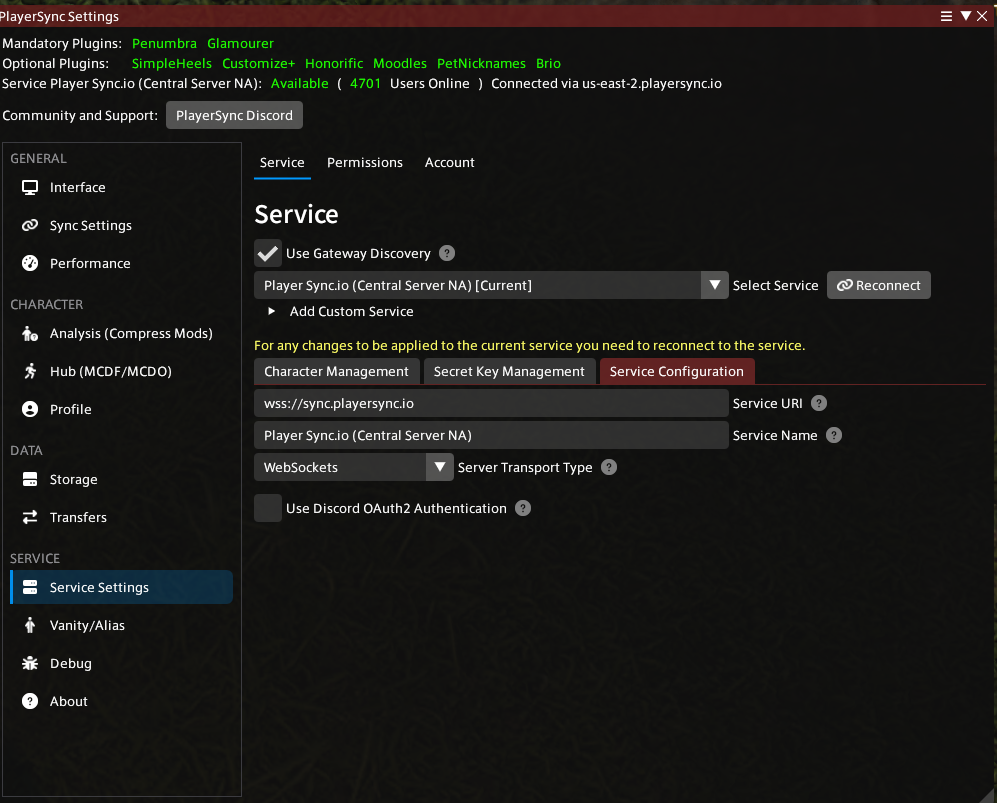
PlayerSync Setup - Discord vs Secret Key
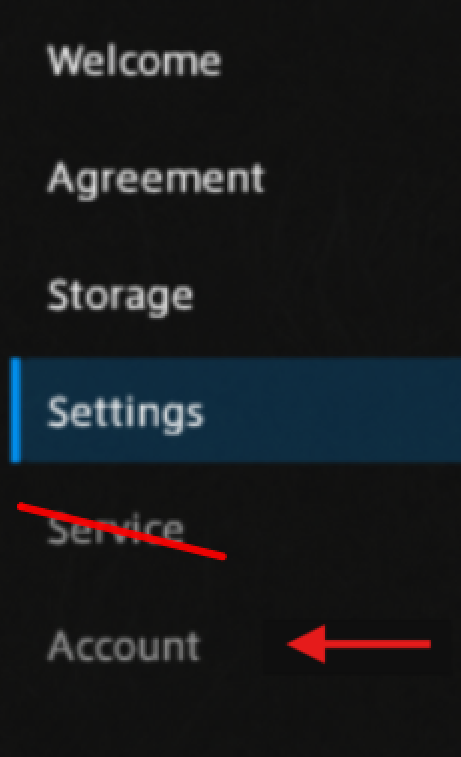
There are two methods of finishing the set up process, one uses the “Service” tab and the other one uses the “Account” tab. We will mainly focus on the method using the “Account” tab since this method uses the discord OAuth2 using the discord account you have most likely just set up in the PlayerSync Discord. The second method is a legacy login using a Legacy secret key with NO discord OAuth2. This method is rarely used since Discord is the preferred method now. However if you have a Legacy secret key you can scroll down to the “PlayerSync Setup - Service Registration (Secret key NO Discord OAuth2)” section for a tutorial on how to finish the setup process using that method.
__________________________________________________________________________________________________________________________________________________
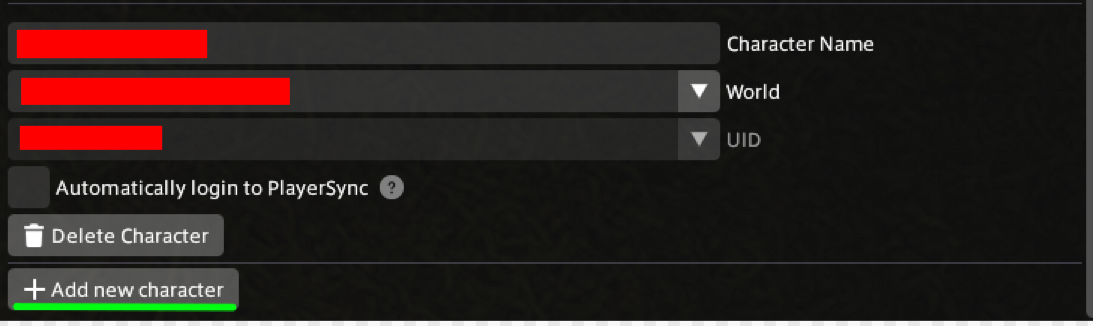
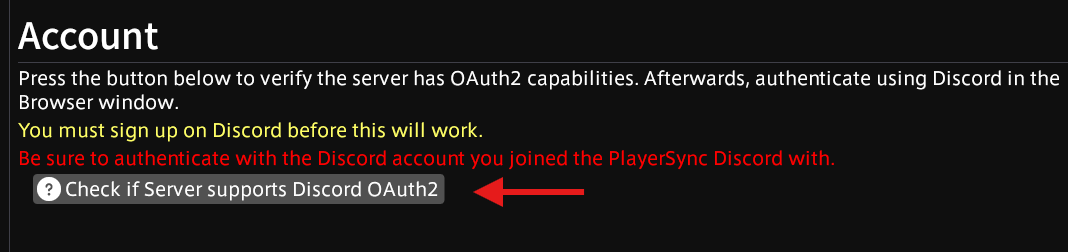
PlayerSync Setup - (Using Discord Account)
The first step in setting up the Discord auth is to click the button “Check if Server support Discord OAuth2” in the “Accounts” tab.
Next, click the button to “Authenticate with Server”. This step will open your default web browser to the Discord OAuth2 page. If you don't see it, look for a tab that opened on a browser window.
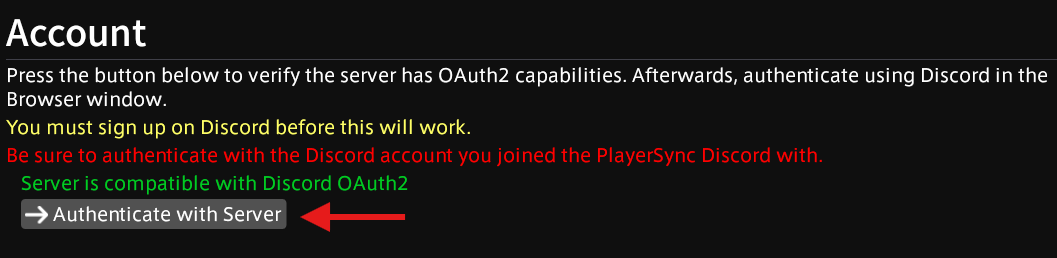
YOU MUST BE SIGNED IN TO THE SAME DISCORD ACCOUNT YOU REGISTERED WITH ON THE PLAYERSYNC DISCORD!

IF IT SAYS THE PLAYERSYNC ACCOUNT DOES NOT EXIST, YOU EITHER ARE NOT LOGGED IN TO DISCORD'S WEBSITE WITH THE SAME ACCOUNT YOU REGISTERED WITH, OR YOU NEVER REGISTER IN THE FIRST PLACE.
If it says, “Could not find a PlayerSync user associated to this Discord account. Make sure you have registered on the Discord using the bot before clicking this.” You need to make sure the website is logged in with the correct Discord account. In the same window you get this error, put in: https://discordapp.com/channels/@me and ensure it's the same Discord account that shows up.
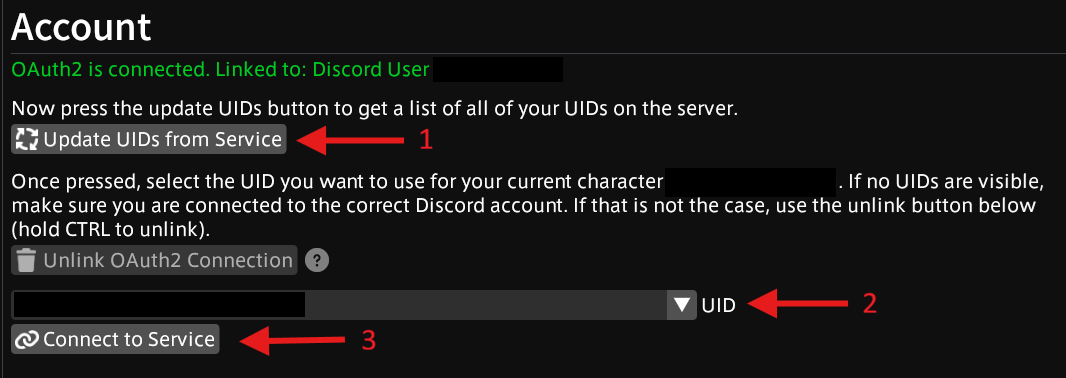
Finally, click on “Update UIDs from Service”, then select your UID from the dropdown, then click “Connect to Service”.
If you have already put in the secret key in the “Service” tab and do not see the option to “![]() ” button you can:
” button you can:
- type “/xlrestart” command in the chat box to reset the page and see if you can use the button.
- Make sure “Use proxied server” is unchecked.
- Make sure your secret key is a legacy key. How do you know if your secret key is legacy or not? If you just made an account in the PlayerSync Discord using the Discord bot your key is NOT a legacy key.
- Make sure you did NOT combine both setup methods by using both the “Service” and “Account” tab only use one to setup.
- Unlink your connection and use the discord method instead.
________________________________________________________________________________________________________________________________________________
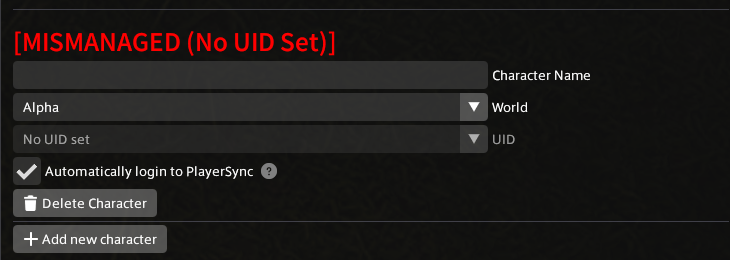
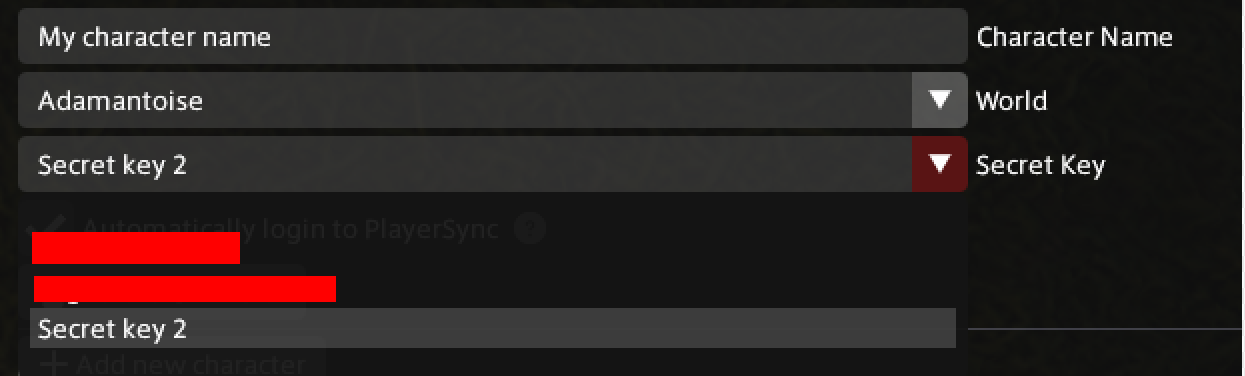
PlayerSync Setup - Service Registration (Secret key NO Discord OAuth2)
For most users, you can skip this step.
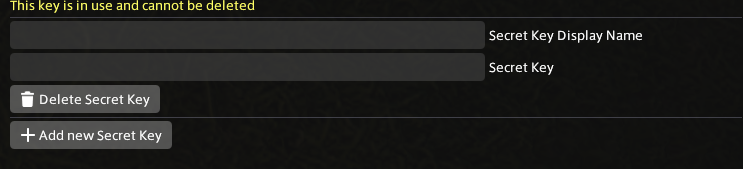
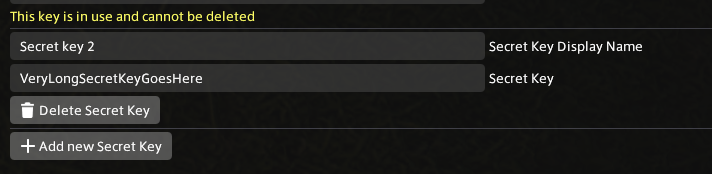
If you have opted to use a Legacy Login with the secret key instead of the Discord OAuth2, you can click the option for it and enter the secret key as provided by the Discord bot. For this method you will need a PlayerSync account in the discord, but you will not verify with your discord itself and will need to save the secret key you are given somewhere safe.
If you have not yet created an account on the PlayerSync Discord, you must do so before finishing the setup.
THIS IS A SEPARATE SET UP METHOD THEN THE ONE LISTED PREVIOUSLY. USING THIS SETUP METHOD THE " " BUTTON WILL NOT APPEAR LIKE IT DOES IN THE LAST IMAGE, IF YOUR SECRET KEY ISN'T LEGACY. IT IS HIGHLY ADVISED TO USE THE DISCORD METHOD SINCE YOU MOST LIKELY JUST MADE AN ACCOUNT USING THE DISCORD. DO NOT COMBINE THESE TWO SETUP METHODS.
If you have already put in the secret key and do not see the option to “Update UID from Service” button you can:
- type “/xlrestart” command in the chat box to reset the page and see if you can use the button.
- Make sure “Use proxied server” is unchecked.
- Make sure your secret key is a legacy key. How do you know if your secret key is legacy or not? If you just made an account in the PlayerSync Discord using the Discord bot your key is NOT a legacy key.
- Make sure you did NOT combine both setup methods by using both the “Service” and “Account” tab only use one to setup.
- Unlink your connection and use the discord method instead.